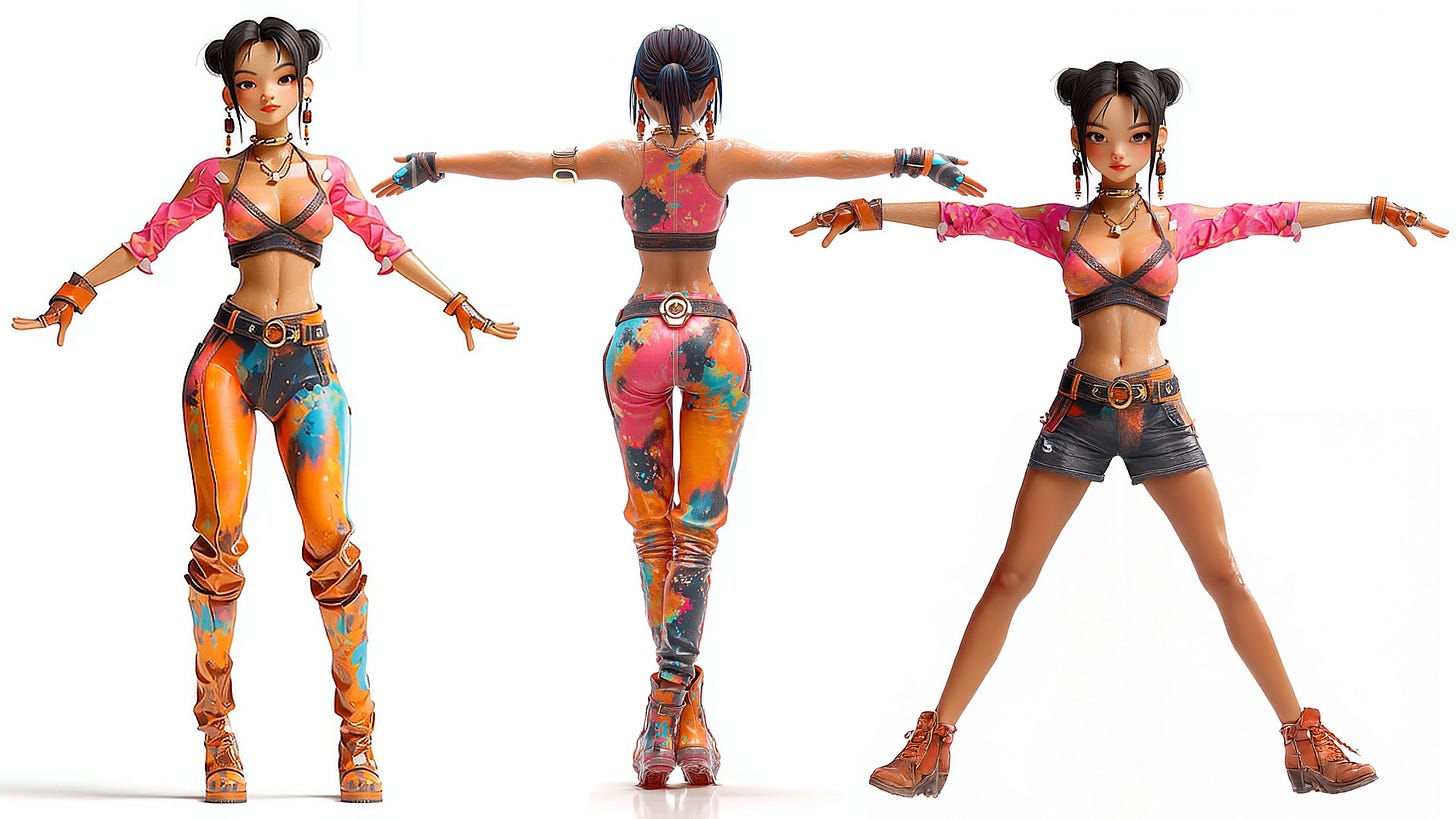
Seriously, this process was driving me nuts. But finally, I have the perfect flawless steps. And in detail explained. Yes, posing high-resolution characters in ZBrush can feel like performing brain surgery with boxing gloves - especially when dealing with 1-million+ poly meshes.
Transpose Master, Proxy Mesh, and ZSphere rigs should make life easier, but only if you know exactly when and how to use them (and avoid the trapdoors).
This step-by-step guide walks you through the correct and complete workflow to pose a high-res mesh using a low-res Proxy Mesh, the ZSphere rigging system, and Transpose Master - without wrecking your details or running into the dreaded “vertex mismatch” errors. We even toss in a dummy cube to hack around ZBrush’s weird limitations.
Let’s cut through the chaos and finally make ZBrush behave.
Step 1: Prepare your scene
Load your high-res character mesh
Character_001.Append a dummy subtool to satisfy Transpose Master (ZBrush requires at least two subtools):
Go to
Tool > SubTool > Append > Cube3DorBox3D.Select the box subtool and click Make PolyMesh3D to make it editable.
You should now have two subtools: your character and the dummy box.
Step 2: Enable Proxy Mesh
Select your Character_001 subtool (the high-res one).
Go to
Tool > Geometry.Click Enable Proxy Mesh (or "Enable Proxy Pose", depending on version).
ZBrush generates a temporary low-res proxy version inside your tool — this lets you pose without destroying detail.
Step 3: Activate Transpose Master and ZSphere Rig
Go to
ZPlugin > Transpose Master.Before you click TPoseMesh, activate the checkbox ZSphere Rig.
This tells ZBrush to automatically prepare the ZSphere for rigging.
Now click TPoseMesh.
ZBrush creates a new TPose tool with:
Your proxy mesh,
The dummy box,
A ZSphere rig subtool.
You are now inside a “pose workspace.”
Step 4: Convert the proxy mesh to a proper polymesh
Inside the TPose tool, select the proxy mesh subtool (your character).
Click Tool > Make PolyMesh3D.
This creates a new polymesh version of the proxy — required for stable rigging (avoids vertex mismatch issues).
Rename it if you want (e.g.,
TPose_Poly).
Step 5: Bind the ZSphere rig to the proxy mesh
Select the ZSphere subtool (should already be there if you enabled the rig earlier).
Go to
Tool > Rigging > Select Mesh.Choose the polymesh version of the proxy you just created.
Click Bind Mesh.
Now the ZSphere rig controls your proxy mesh — ready for posing.
Step 6: Pose the character
With the ZSphere rig still selected, use Move and Rotate to adjust bones and joints.
The proxy mesh will deform in real time according to your rig.
Keep it rough - focus on limbs and overall pose.
Step 7: Transfer pose back to the original high-res mesh
Once you're happy with the pose, go to
ZPlugin > Transpose Master.Click TPose > SubT.
This applies the pose to the original tool
Character_001, keeping the dummyBoxsubtool as-is.You're now back in the original tool — but still in Proxy Mesh mode.
Step 8: Disable Proxy Mesh to reveal the posed high-res mesh
Select the Character_001 subtool.
Go to
Tool > Geometry.Uncheck Proxy Mesh.
This switches your view from low-res proxy to the fully detailed, high-resolution mesh - with the new pose applied.
Step 9: Clean up
(Optional) Delete the dummy
Boxsubtool:Tool > SubTool > Select Box > Delete.
Save your file or export the posed mesh as needed.
🎯 Result:
You now have your original high-res mesh, posed exactly as planned, with no detail loss, no projection hacks, and no vertex mismatch errors.
Proxy Mesh and Transpose Master did their jobs right — with help from the manual PolyMesh3D conversion and proper ZSphere rig handling.


