

You baked it. You painted it. You gave it roughness, sparkle, and maybe even a skeleton tattoo. Now comes the final act: importing your beautifully textured low-poly model into Roblox Studio and making it look legit.

Here’s a no-fluff, real-time walkthrough of the process. Whether you’re creating custom avatars, fashion characters, or cyberpunk swamp monsters, this is how you make it show up properly inside your game world.
🎬 Step 1: Open Roblox Studio and the Asset Manager
Start fresh in Roblox Studio.
Head straight to the Asset Manager and import your textured character model. This is the low-poly version with baked detail, posed and ready.
Already exported from Blender or wherever? Good. If the scale’s too big or small, don’t panic - Roblox gives you several ways to fix that. Just import it and adjust later.
🧱 Step 2: Insert the Asset into Your Scene
After import, right-click the asset in the Asset Manager and choose "Insert at asset position." Boom - your character drops into the viewport.
Got a situation where it loads inside another model or group? No big deal. Just drag it out into your workspace.
If needed, wrap it up again in a Model group (Ctrl+G) so you can easily control the scale with one value.

Pro tip: try scale values like 0.1, 0.14, or 0.33 to get it roughly human-sized. Tweak to taste.
And most importantly: Anchor the model. Seriously. Do it now. Nothing ruins a demo like your character falling into the void.
🎨 Step 3: Apply the Surface Appearance
Now it’s time to bring the beauty back.
After you’ve got the mesh where you want it, add a SurfaceAppearance object to the model in the Explorer window.
This is where you’ll paste in the asset IDs for your texture maps: Color, Normal, Roughness, and Metalness.
Yes, you have to do this manually. Yes, it’s tedious. But hey - it works, and it’s important to understand how it’s done.
Just copy each asset ID from the files you uploaded and paste it into the corresponding field in the SurfaceAppearance.
🔍 Step 4: See the Results - One Map at a Time
Before throwing all maps on at once, try applying them one by one. This helps you understand the visual impact of each:
Start with the Normal Map. Set your base material to SmoothPlastic and change the color to white or grey so you can see the depth clearly. The result? Your low-poly mesh looks sculpted.
Then try the Roughness Map. Suddenly, lighting gets spicy. Your clothing textures start to reflect, scatter, and behave like they have actual material definition.
Metalness Map is optional, but fun. Use it for things like buttons, straps, zippers - anything you want to shine.
Once you’ve previewed the individual effects, apply the Color Map last. That’s your diffuse base layer - it brings the whole character to life.
Watching the model evolve with each map is kinda magical. The detail pops. The realism creeps in. You start to feel like you’re working in a AAA pipeline, even if it’s just for Roblox.
🕹️ Step 5: Test in Play Mode
Click Play to enter preview mode. Your model should stay anchored and hold its appearance. Check for texture flickering, size issues, or weird glitches.
Move the model. Compare it next to other characters or props (like your swamp monster, for instance - yes, I saw that).
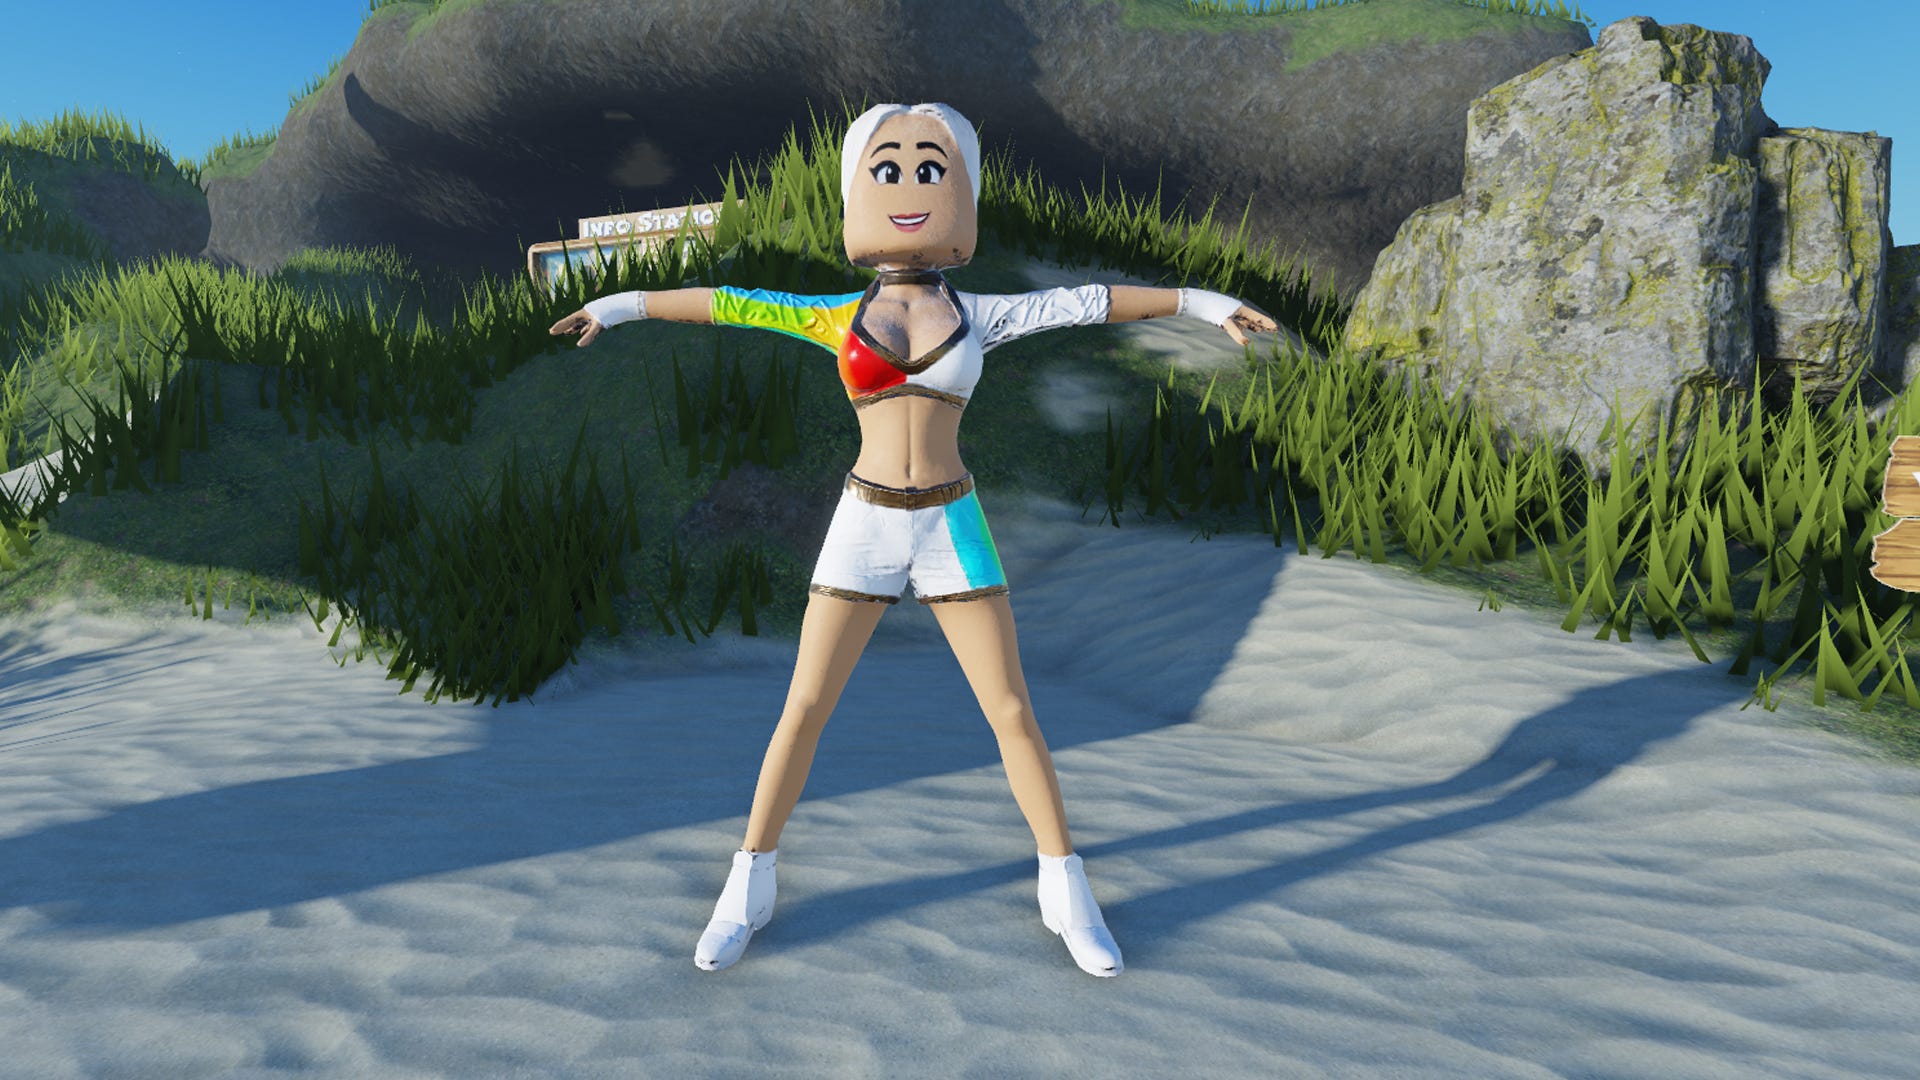
If everything looks solid: congrats. Your model is now in-game, textured, and fully functional.
🧩 Bonus Tips & Final Thoughts
Stay under 10K triangles when importing meshes. Roblox has limits, and you already handled this back in ZBrush when remeshing. Smart.
If you split your characters into parts (torso, pants, head), you can apply different textures to each. This opens up easy swapping and customization.
Want to automate this? There are plugins and Blender-to-Roblox pipelines - but understanding this manual method gives you full control.
🧠 The Takeaway
This isn't just about getting your mesh into Roblox. It’s about learning how the engine handles textures, normals, material responses, and scale.
When you understand that, you can build better, faster, and smarter.
You’re not just importing a mesh. You’re bringing your vision to life in a game world.
So, keep creating, keep tweaking, and most of all - have fun with it.
Next tutorial coming soon: Building a modular wardrobe system in Roblox using texture swapping. Stay tuned.
Got questions? Drop them in the comments. Want to see the swamp monster tutorial? Ask, and ye shall receive.
Until then - happy pixeling.

